Proportional Editing Tool
 | WARNING THIS CONTENT HAS BEEN IMPORTED AUTOMATICALLY FROM 2.0 GUIDE -MIGHT BE OUTDATED AND/OR INACCURATELY CONVERTED |
When working with dense meshes, it can become difficult to make subtle adjustments to the vertices without causing nasty lumps and creases in the model's surface.Ā The proportional editing tool works like a magnet to smoothly deform the surface of the model.
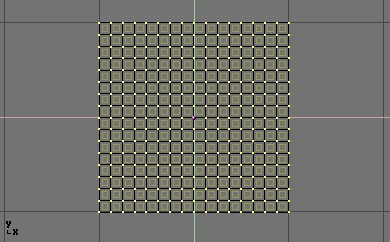
In a top-down view, add a plane mesh to the scene with SHIFT+A>>MESH>>PLANE.Ā Subdivide it a few times with WKEY>>SUBDIVIDE (or by clicking on the SUBDIVIDE button in the EditButtons) to get a relatively dense mesh (Fig. 1).Ā When you are done, deselect all vertices with AKEY.
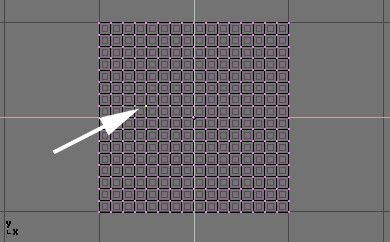
Select a single vertex in the mesh by clicking it with the right mousebutton (Fig. 2).
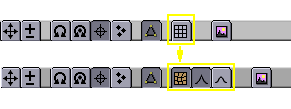
Still in editmode, activate the proportional editing tool by pressing OKEY or by clicking on the grid icon in the header bar of the 3dWindow.
 | A tip |
|---|---|
If the icon isn't visible in the header bar because your window is too narrow, you can scroll the header bar by MIDDLE_CLICKING on it and and drag left or right. |
You should see the icon change to a distorted grid with two curve-shape buttons next to it (Fig. 3).
Switch to a front view (KEYPAD_1) and activate the move tool with GKEY.Ā As you drag the point upwards, notice how other nearby vertices are dragged along with it in a curve similar to the one selected in the header bar.
You can change which curve profile is used by either clicking on the corresponding icon in the header bar, or by pressing SHIFT+O.Ā Note that you cannot do this while you are in the middle of a proportional editing operation; you will have to press ESC to cancel the editing operation before you can change the curve.
When you are satisfied with the placement of the vertex, the operation and reverts your mesh to the way it looked before you started dragging the point).
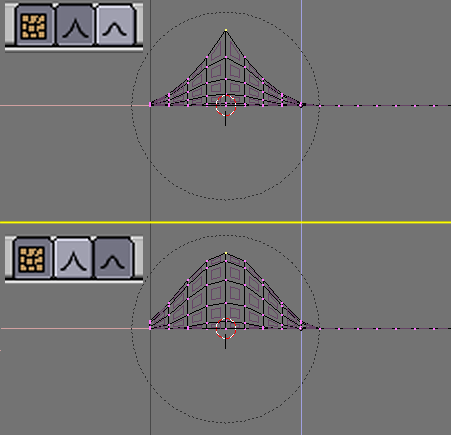
You can increase or decrease the radius of influence (shown by the dotted circle in Fig. 4) while you are editing by pressing KEYPAD_PLUS and KEYPAD_MINUS respectively.Ā As you change the radius, you will see the points surrounding your selection adjust their positions accordingly.
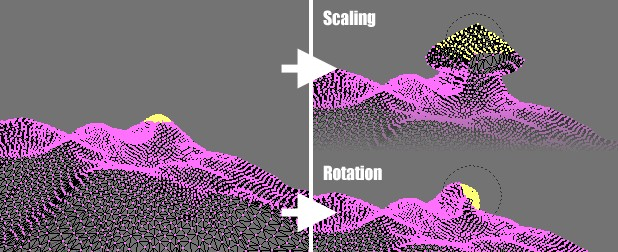
Great effects you get by using the proportional editing tool with scaling (SKEY) and rotation (RKEY) tools.
Combine these techniques with vertex painting to create fantastic landscapes.
Fig. 6 shows the results of proportional editing after the application of textures and lighting.
