Saving stills
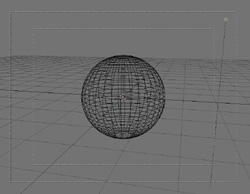
Before you can save an image you need a scene to render, so let's set up a little scene. Start Blender and add a UV Sphere. Make sure you can see the sphere in camera view. Also add a lamp, so the sphere will show up in the rendering.
Before we render the image, set the size of the image with SizeX, SizeY and the percentage buttons located in the RenderButtons (F10). Now render the image with F12 and hide the render window with F11 or Escape.
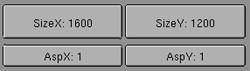
 | TIP: use the percentage buttons to quickly do low resolution test-renders while you're working. |
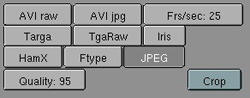
Now we need to select the filetype in which the image will be saved. Locate the filetype buttons on the right of the RenderButtons and select the filetype for your image. Note: stills can only be saved as Targa or Jpeg.
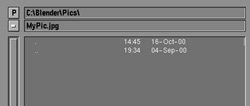
Now press F3 to save your image. A file window will open in which you can select the directory the image should be saved in. Type the name of the directory in the first and the name of your image in the second text field and press Enter twice to save the image (the first time is to confirm the file name; the second time actually saves the file). Note: you have to include the file extension (.tga or .jpg) when you name your image!