Warp Tool
The warp tool is a little-known tool in Blender, partly because it is not found in the EditButtons window, and partly because it is only useful in very specific cases. It is not something the average Blender-user needs every day.
A piece of text wrapped into a ring shape is useful in flying logos, but it would be difficult to model without the warp tool. We will warp the phrase "Amazingly Warped Text" around a sphere. First add the sphere.
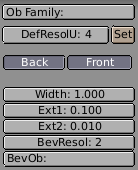
Then add the text in front view, set "Ext1" to 0.1 - making the text 3D, and set "Ext2" to 0.01, adding a nice bevel to the edge. Make the "BevResol" 1 or 2 to have a smooth bevel and lower the resolution so that the vertex count will not not be too high when you subdivide the object later on (Figure 51). Convert the object to curves, then to a mesh, (ALT+C twice) because the warp tool does not work on text or on curves. Subdivide the mesh twice, so that the geometry will change shape cleanly, without artifacts.
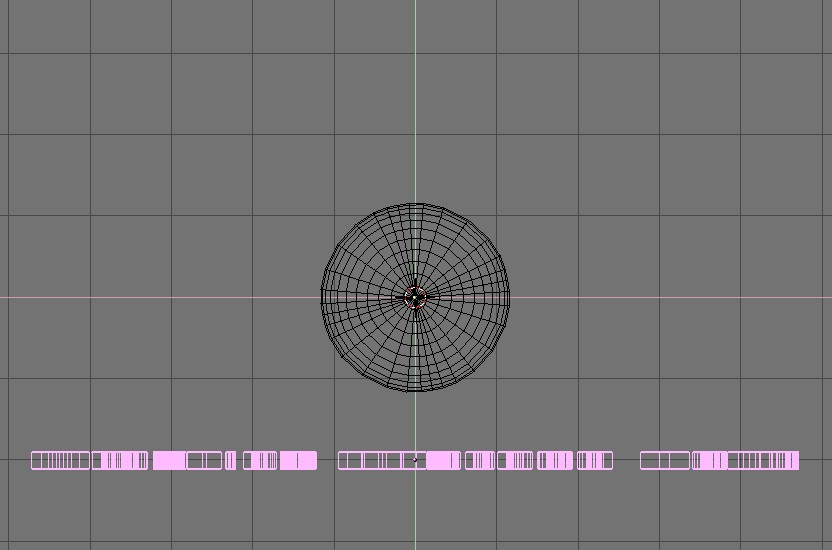
Switch to top view and move the mesh away from the 3D cursor. This distance defines the radius of the warp. See Figure 52.
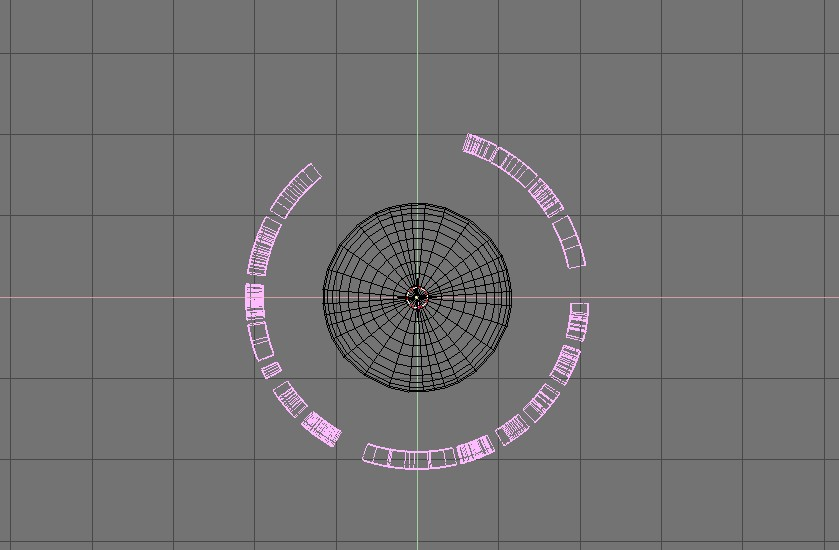
Place the mesh in edit mode and press AKEY to select all vertices. Press SHIFT+W to activate the warp tool. Move the mouse up or down to interactively define the amount of warp. (Figure 53). Holding down CTRL makes warp change in steps of five degrees.
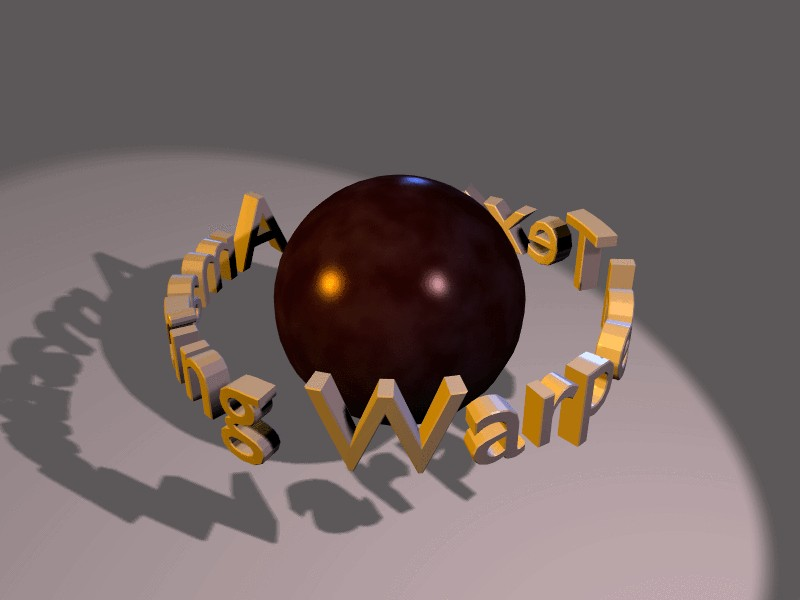
Now you can switch to camera view, add materials, lights and render (Figure 54).