Dupliverts
"Dupliverts" are not a rock band nor a dutch word for something illegal (well maybe it is) but is a contraction for "DUPLIcation at VERTiceS", meaning the duplication of a base object at the location of the vertices of a mesh. In other words, when using Dupliverts on a mesh, on every vertex of it an instance of the base object is placed.
There are actually two approaches to modelling using Dupliverts. Mainly they can be used as an arranging tool, allowing us to model geometrical arrangement of objects (eg: the columns of a greek temple, the trees in a garden, an army of robot soldiers, the desktops in a classroom). The object can be of any object type which Blender supports.
The second approach is using them to model an object starting from a single part of it (eg: the spikes in a club, the thorns of a sea-urchin, the tiles in a wall, the petals in a flower)
We are going to discuss both approaches to examine all our options
Dupliverts as arranging tool
All you need is a base object (eg: the "tree" or the "column") and a mesh with its vertices following the pattern you have in mind.
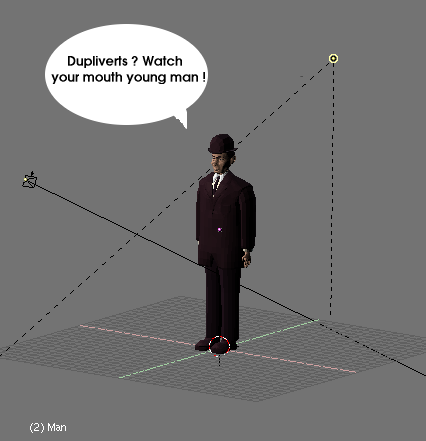
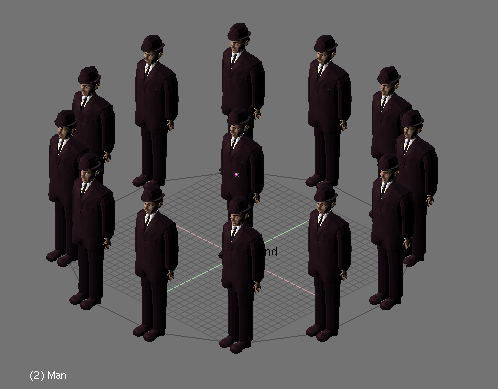
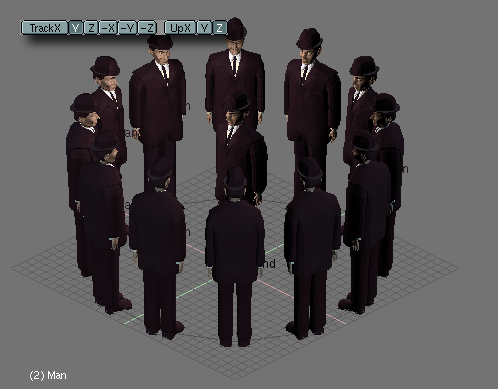
I will use a simple scene for the following part. It consists of a camera, the lamps, a plane (for the floor) and a strange man I modelled after a famous Magritte's character. If you don't like surrealism you will find this part extremely boring.
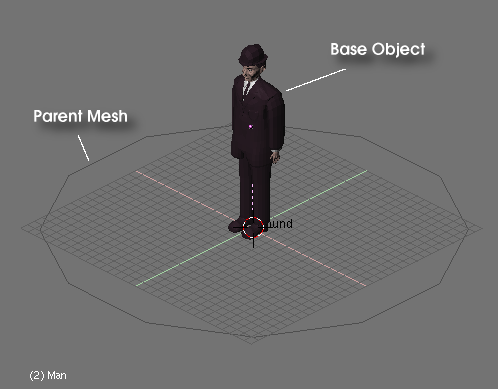
Anyway, the man will be my "base object". It is a good idea that he will be at the center of coordinates, and with all rotations cleared. Move the cursor to the base object's center, and From Top View add a mesh circle, with 12 vertices or so.
Out of Edit Mode, select the base object and add the circle to the selection (order is very important here). Parent the base object to the circle by pressing CTRL-P. Now, the circle is the parent of the character. We are almost done.
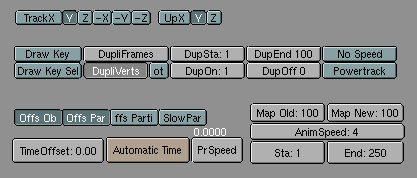
Now select only the circle, switch the ButtonsWindow to the AnimButtons (F7) and select the option"DupliVerts".
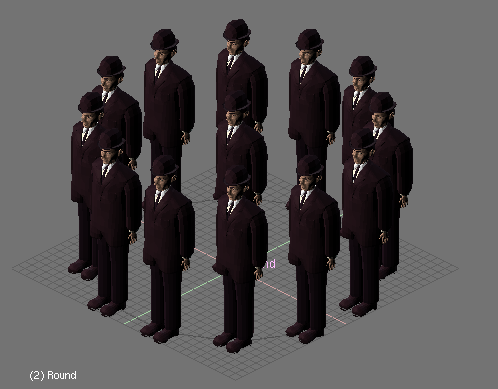
WOW, isn't it great ?. Don't worry about the object at the center. It is still shown in the 3D-views, but it will NOT be rendered. You can now select the base object, change (scale, rotate, EditMode)[1] it and all dupliverted objects will reflect the changes. But the more interesting thing to note is that you can also edit the parent circle.
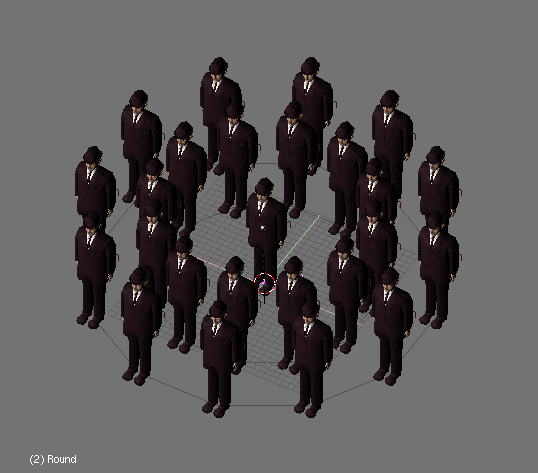
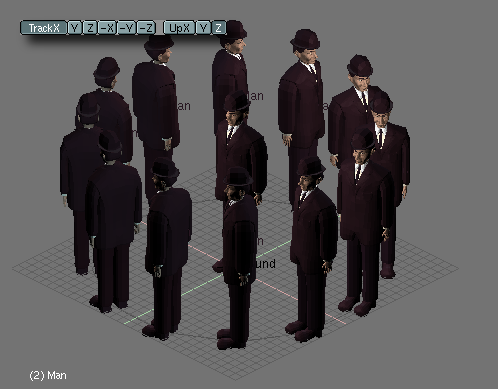
Select the circle and scale it. You can see that the misterious men are uniformly scaled with it. Now enter the EditMode for the circle, select all vertices AKEY and scale it up about three times. Leave EditMode and the dupliverted objects will update. This time they will still have their original size but the distance between them will have changed. Not only we can scale in EditMode, but we can also delete or add vertices to change the arrangement of men.
Select all vertices and duplicate them. Now scale the new vertices outwards to get a second circle around the original. Leave Edit Mode, and a second circle of men will appear.
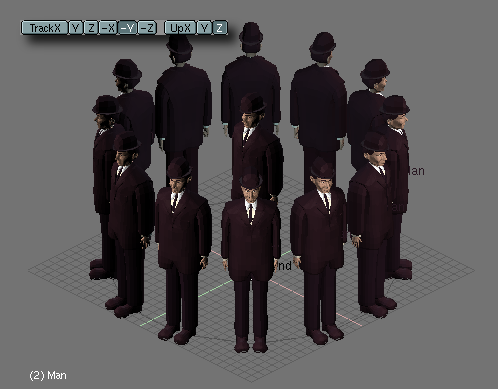
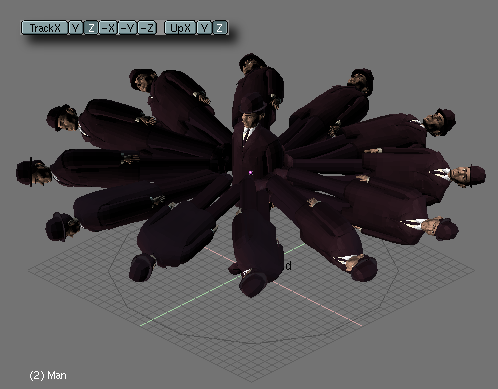
Until now all Magritte's men were facing the camera, ignoring each other. We can get more interesting results using the "Rot" option next to the duplivert button. With this option active, we can rotate the dupliverted objects according to the face-normals of the parent object. More precisely, the dupliverted objects axis are aligned with the normal at the vertex location.
Which axis is aligned (X, Y or Z) depends on what is indicated in the TrackX,Y,Z buttons and the UpX,Y,Z buttons. Trying this with our surrealist buddies, will lead to wierd results depending on these settings.
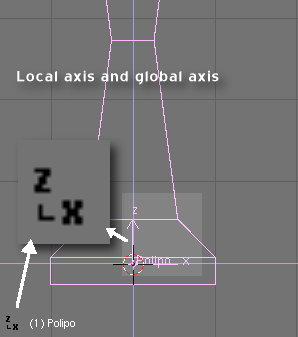
The best way to figure out what will happen is first of all aligning the "base" and "parent" objects' axis with the World axis. This is done selecting both objects and pressing CTRL-A, and click the "Apply Size/Rot?" menu.
Then make the axis of the base object and the axis and normals in the parent object visible (in this case, being a circle with no faces, a face must be defined first for the normal to be visible (actually to exist at all))
Now select the base object (our magritte's man) and play a little with the Anim buttons. Note the different alignment of the axis with the different combinations of UpX,Y,Z and TrackX,Y,Z.
Dupliverts to model a single object
Very interesting models can be done using Dupliverts and a standard primitive.
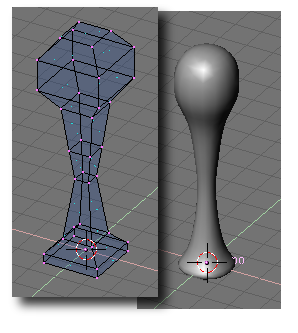
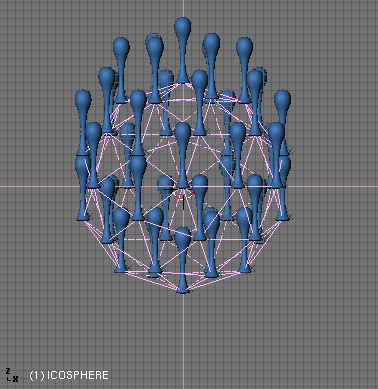
Starting from a cube in Front View, and extruding a couple of times I have modelled something which looks like a tentacle when Subsurfs are activated. Then I added an Icosphere with 2 subdivisions.
I had special care to be sure that the tentacle was located at the sphere center, and that both the tentacle axis and the sphere axis were aligned with the world axis as above.
Now, I simply make the icosphere the parent of the tentacle. Select the icosphere alone and made it "Duplivert" in the AnimButtons.
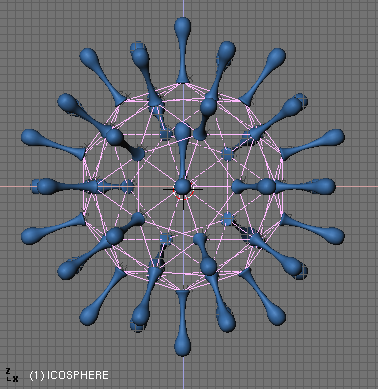
Press the "Rot" button to rotate the tentacles.
Once again to make the tentacle point outwards we have to take a closer look to its axis. When applying Rot, Blender will try to align one of the tentacle axis with the normal vector at the parent mesh vertex.
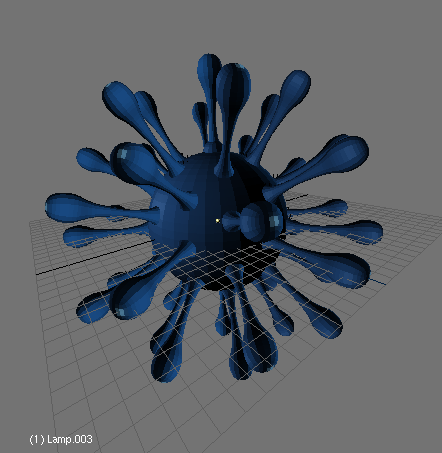
Again, the base mesh is not rendered, so you probably would like to add an extra renderable sphere to complete the model.
You can experiment in EditMode with the tentacle, moving its vertices off the centre of the sphere, but the object's center should always be at the sphere's center in order to get a simmetrical figure. However take care not to scale up or down in one axis in ObjectMode since it would lead to unpredictable results in the dupliverted objects when applying the "Rot" button.
Once you're done with the model and you are happy with the results, you can select the tentacle and press SHIFT-CTRL-A and click on the "Make duplis real ?" menu to turn your virtual copies into real meshes.
