Posing
Once you have a rigged and skinned character like Gus you can start playing with it as if it were a doll, moving its bones and looking at the results.
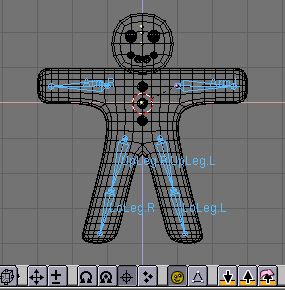
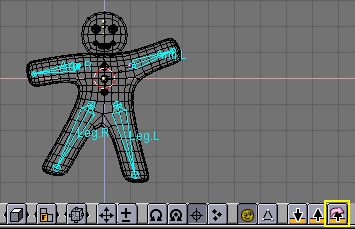
First, select the armature alone, then press that small button looking like an yellow sleeping guy in the 3D Window toolbar Figure 59. This button is there only if an armature is selected.
The button will turn "awake" Figure 60 and the armature turn blue. You are in Pose Mode.
If you now select a bone it will turn cyan, not pink, and if you move (GKEY) or rotate (RKEY) it the body will deform!
 | Original position |
|---|---|
Blender remembers the original position of the bones, you can set your armature back to it by pressing the RestPos button in the Armature Edit Buttons Figure 52 in the Section called Rigging. |
Now we vant Gus to walk. We will do so by defining four different poses relative to four different stages of a stride. Blender will take care of making a fluid animation by itself.
First verify that you are at frame 1 of the timeline. The frame number is in a NumBut in the far right of the Buttons Window Toolbar Figure 61. If it is not to 1, set it to 1.
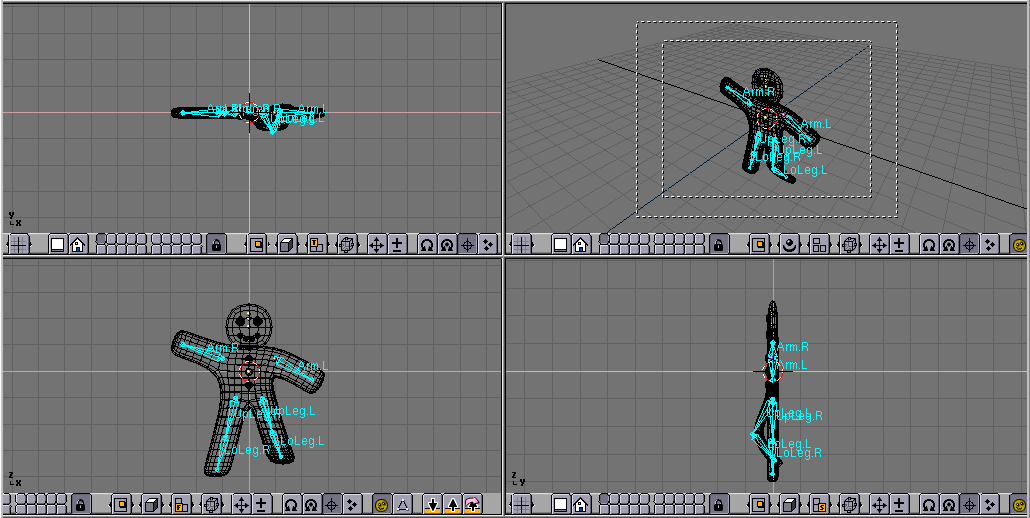
Now, by using only rotations on one bone at a time (RKEY), let's rise Leg.L and Arm.R a little and lower Arm.L a little, as in Figure 62
Select all bones with AKEY. With the mouse pointer on the 3D Window press IKEY . A menu pops up Figure 63. Select LocRot This will get the position and orientation of all bones and store it in a pose at frame 1.
This pose represents Gus in the middle of the stride, while he is moving forward the left leg, which is above ground.
Now move to Frame 11 either by entering the number in the NumButto or by pressing UP ARROW
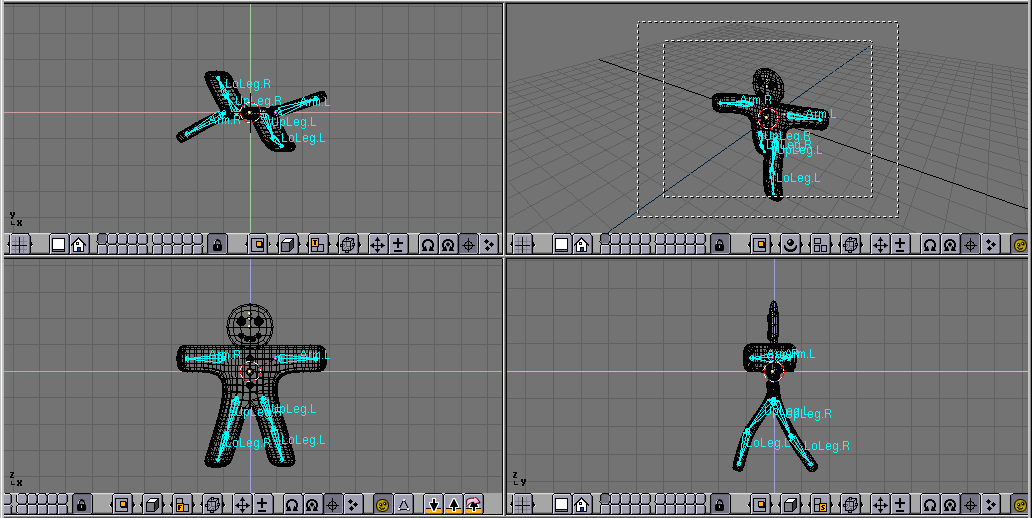
Move Gus in a different position, akin to Figure 64, with the Leg.L forward and Leg.R backward. Please note that Gus is walking on place!
Select again all bones and press IKEY to store this pose at frame 11.
We now need a third pose at frame 21, whit the right leg up as we are in the middle of the other half of the stride.
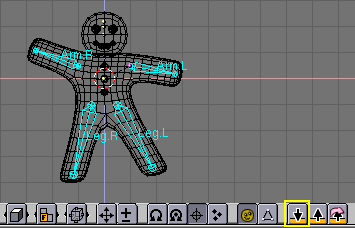
This pose is actually the mirror-pose of the one we defined at frame 1 so, go back to frame 1 and locate the buton with an arrow pointing down in the 3D windoe toolbar Figure 65; press it.
You have copied the current pose to the buffer. Go to frame 21 and paste the pose with the up arrow button with a pink arrow around it Figure 66. This button will paste the cut pose exchanging the positions of bones with suffix .L with those of bones with suffix.R effectively flipping it!
Pay attention! the pose is there but it has not been stored yet! You still have to press IKEY with all bones selected.
Now apply the same procedure to copy the pose at frame 11 to frame 31, again flipping it.
To complete the cycle the pose at frame 1 needs to be copied, without flipping to frame 41. You o so by copying it as usual, and by using the button with the arrow pointing up without the pink arrow to paste. End the sequence storing the pose with IKEY.
 | Checking the animation |
|---|---|
You can have a quick preview of your animation by setting the current frame to 1 and pressing ALT A in the 3D window. |

